Hobby Transmission – Building Dracula’s Castle – Part 2
10/22/2024
Hello Hobbyists! Today we are going to go over the process to paint up our Tomb of Dracula Terrain set! So grab your brushes and get ready to get spooky!
The goal with our painting today is to create a dark and creepy feel to the Tomb by building up colors and adding a lot of subtlety to the rocks so as to not be flat gray and lifeless. We want a painter-like vibe to add atmosphere to the Tomb and make it a centerpiece in our collection. That said, let’s prime the terrain black, and then get started!!! All paints used are ProAcryl from Monument Hobbies.
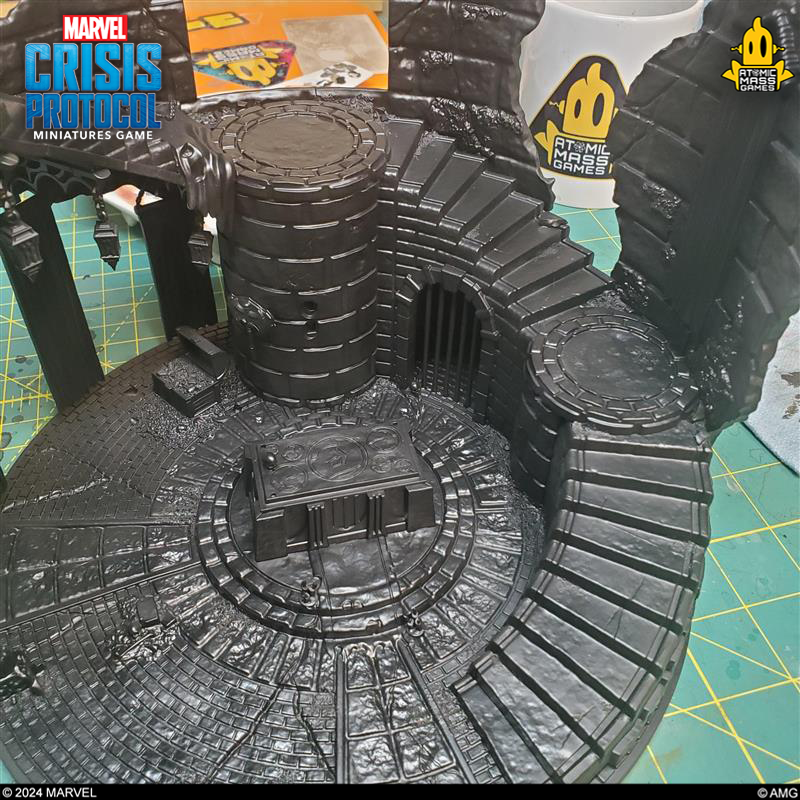
We are going to use drybrush and glazes to establish the look of the stones on the Tomb. Remember, when drybrushing, you want to remove almost all the paint from the bristles. Then gently drag the brush over the area you want to paint.
Our first coat will be Coal Black. Cover the entire stone surface with this color.
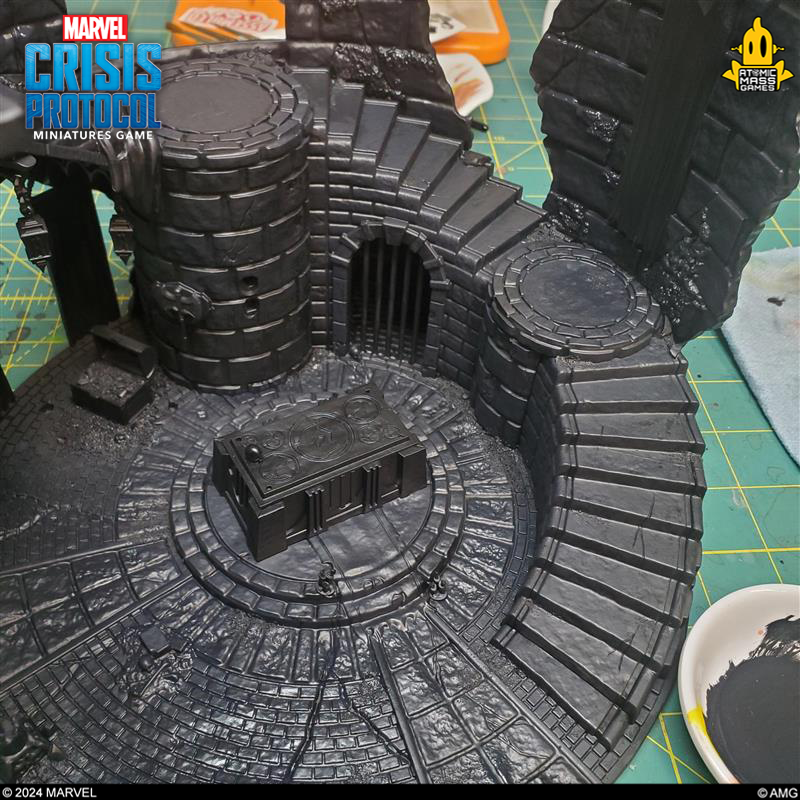
Follow up the Coal Black with a nice coverage of Paynes Grey. This adds a touch of blue to the mix and will help us later in the process…trust the process!
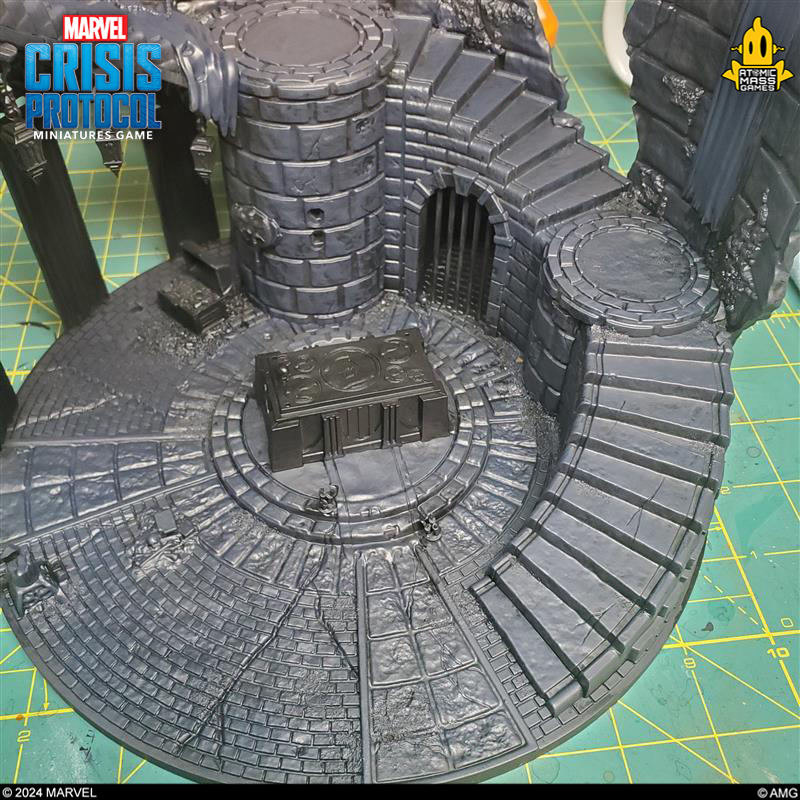
Next, we want to start building up with a lighter tone by drybrushing Dark Neutral Grey over the stones. Make sure you can still see all the layers below, we are building upon them, not blasting them away.
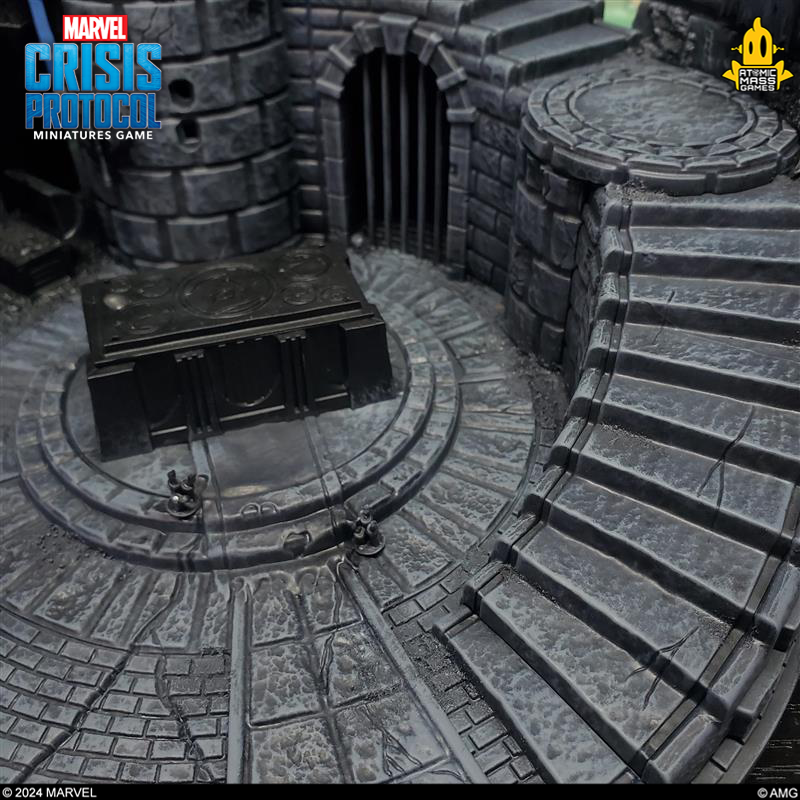
For an overall lighter tone on the stones, brush on some Ivory. This gets the stone to a nice bright value to work our glazes on.
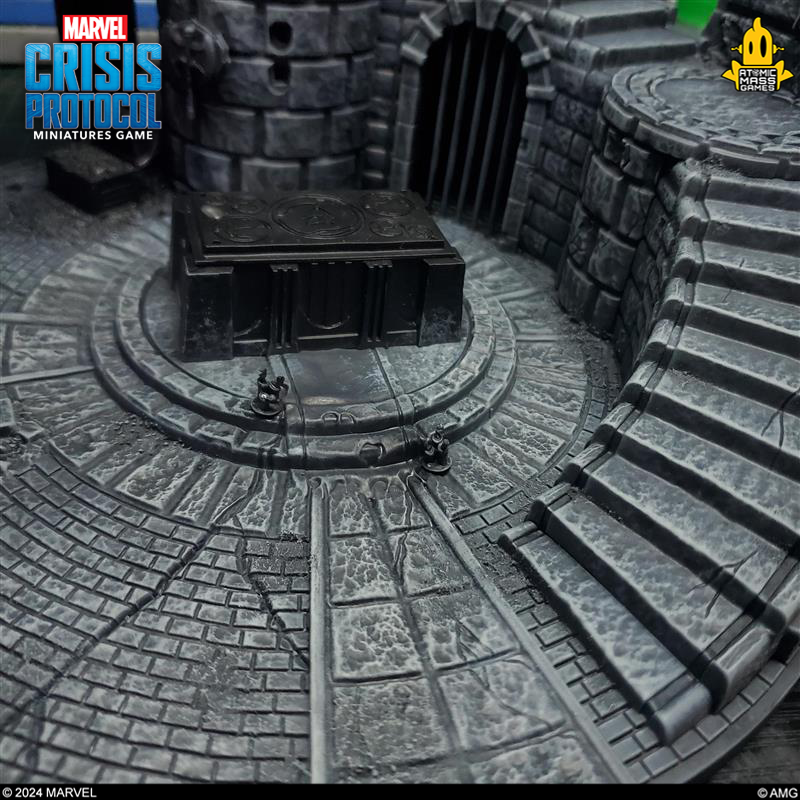
I decided to give a very light drybrush of Grey Blue on the extreme upper portions of the castle walls. My goal here is to emulate moonlight later down the road in the process, so I needed to start establishing the difference between where moonlight was and was not. I also hit the stairwell going down into the Tomb imagining the light coming through the window in that direction.
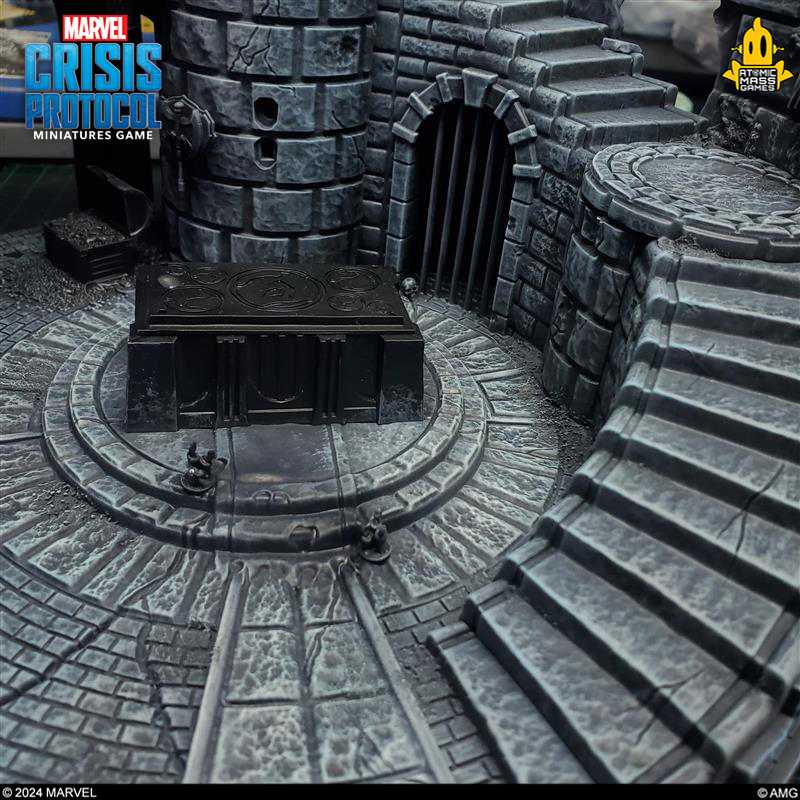
Now we need to start tying all the drybrush work together. For this I mixed up a wash (a thin paint that goes over the area and settles into the recesses) using Dark Grey Blue and Glaze Wash Medium with a touch of water. Give the entire stone surface this wash to blend the drybrush layers together and give the piece a nice deep blue tone. Spooky!
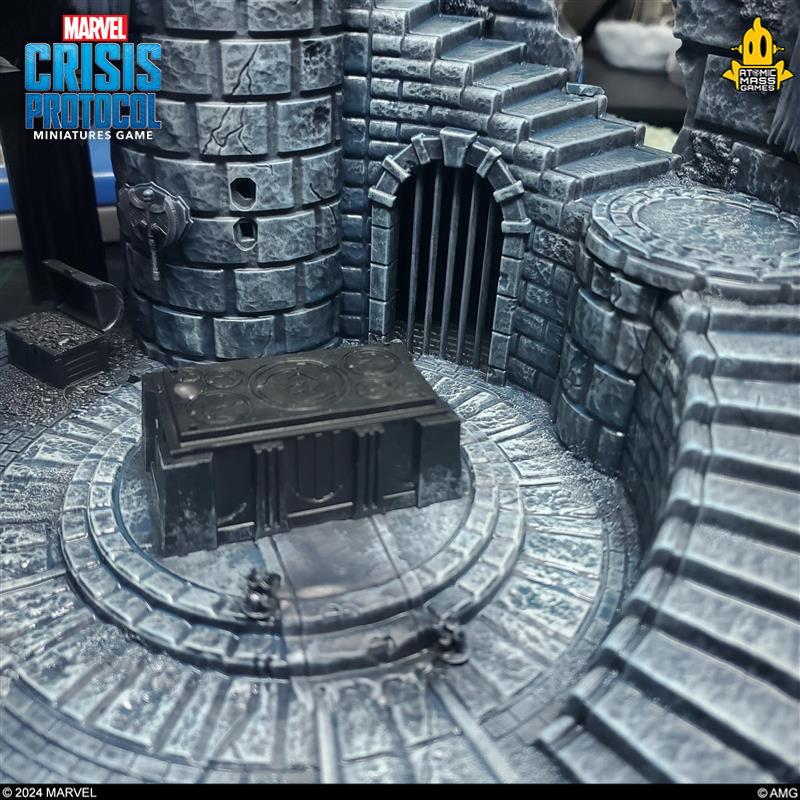
Once the wash dries, we want to start laying in some glazes. This will enhance the atmosphere of our piece. I made thin paints of purple, red, orange, and teal and used an airbrush to apply them. The purple was for the deepest shadows (creepy) the reds and oranges were for the area the lights from the candles and torch would hit (kooky) and the teal was my mid-tone areas where no shadows or candlelight hit (frightening).
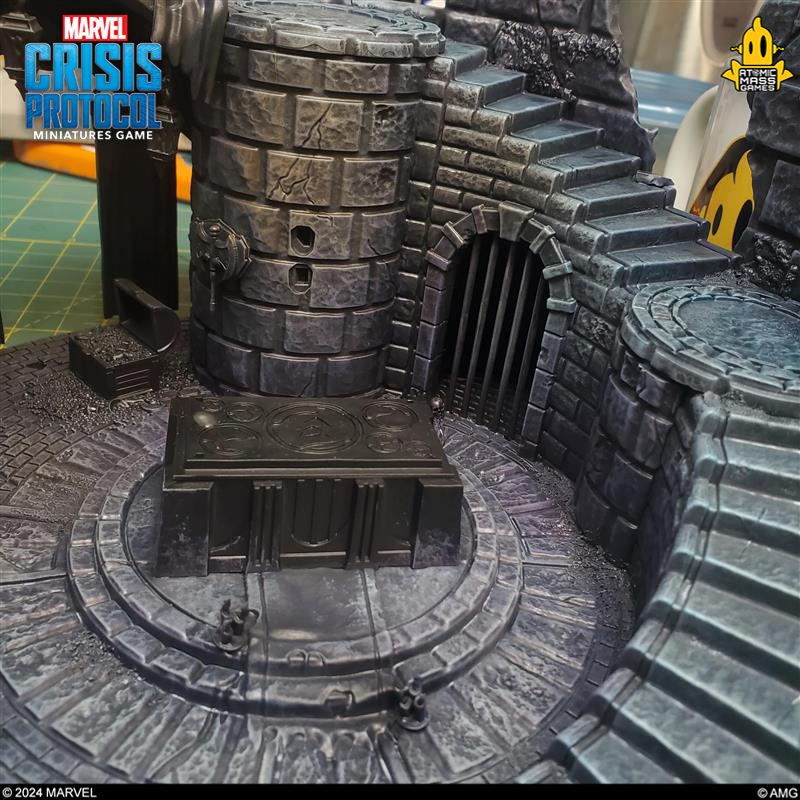
The final step was to drybrush Olive Flesh on the stones to once again tie the glazes and wash together. This was applied gently on all areas of stone facing up. I then used Pale Yellow on the very top edge of the Tomb walls and the stairwell where we began to establish the moonlight zone. This Pale Yellow will help reinforce that notion in the painting.
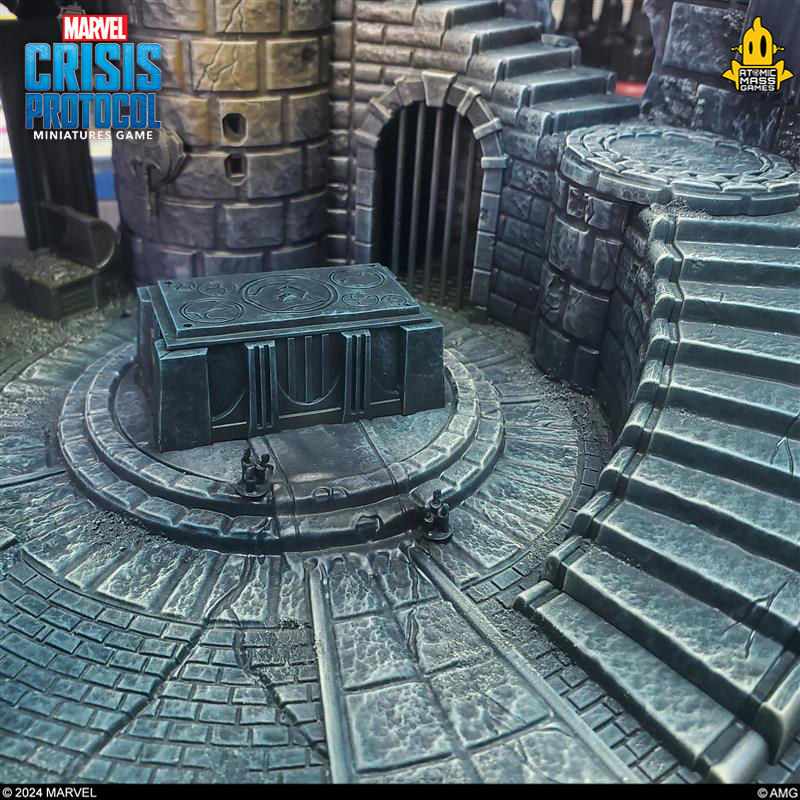
Now that the stones are painted, there is nothing left to do but finish the details! Red tapestries using Bright Pyrrole Red. The torch was done with glazes of yellow and orange over Pale Yellow. I chose to paint the Darkhold for this Tomb. Seems our Drac is looking for that Montesi Formula!!!
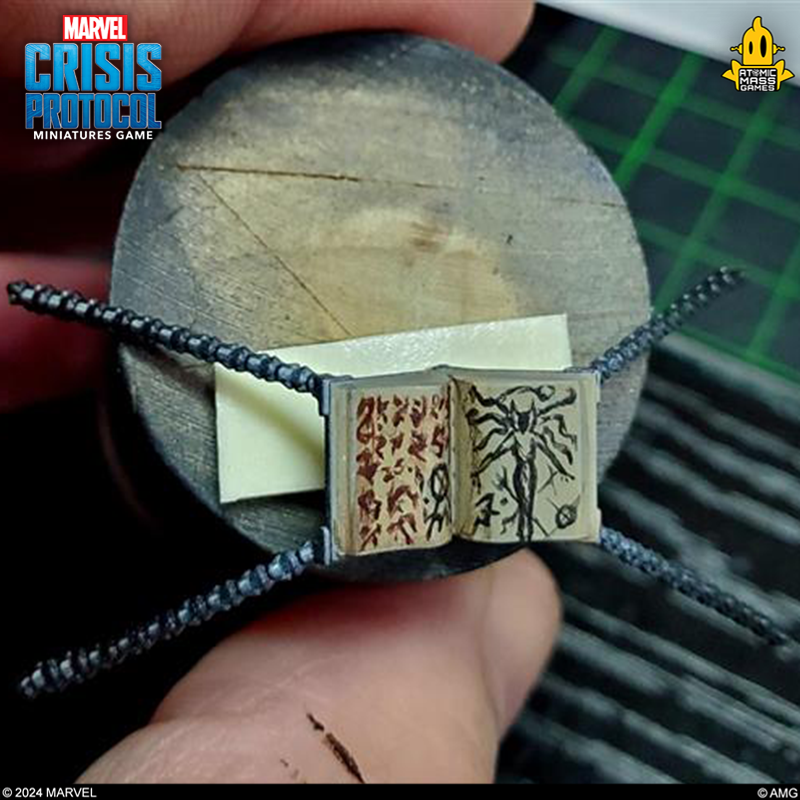
Thanks for taking this terrifying journey into painting the upcoming Tomb of Dracula Terrain set! Hopefully this will get you started on your path to painting your set up!!!
That’s all for today’s feature on building Dracula’s Tomb, and Dallas will be covering the stained glass window in a spooky hobby stream on October 30th. Be sure to check out the Atomic Mass Games channel on Twitch to hear more tips on painting Dracula’s Tomb as well as to see your favorite Marvel: Crisis Protocol fighters come to life for the tabletop! Tomb of Dracula and more are available for pre-order or purchase at your local game store or through the webstore.
Until next time, Atomic Mass Games, signing off!