Painting The Asgardian Shrine for Marvel: Crisis Protocol
06/26/2024
Hello! Creative Director Dallas Kemp, here. The Asgardian terrain sets are right around the corner, and they really offer some unique options for painters to explore the world they want to create on the table top. Today, I wanted to go over how I captured the rainbow stone effect on the upcoming Asgard terrain. For this example, I utilized the Asgard Shrine terrain, which makes a great centerpiece for the table!
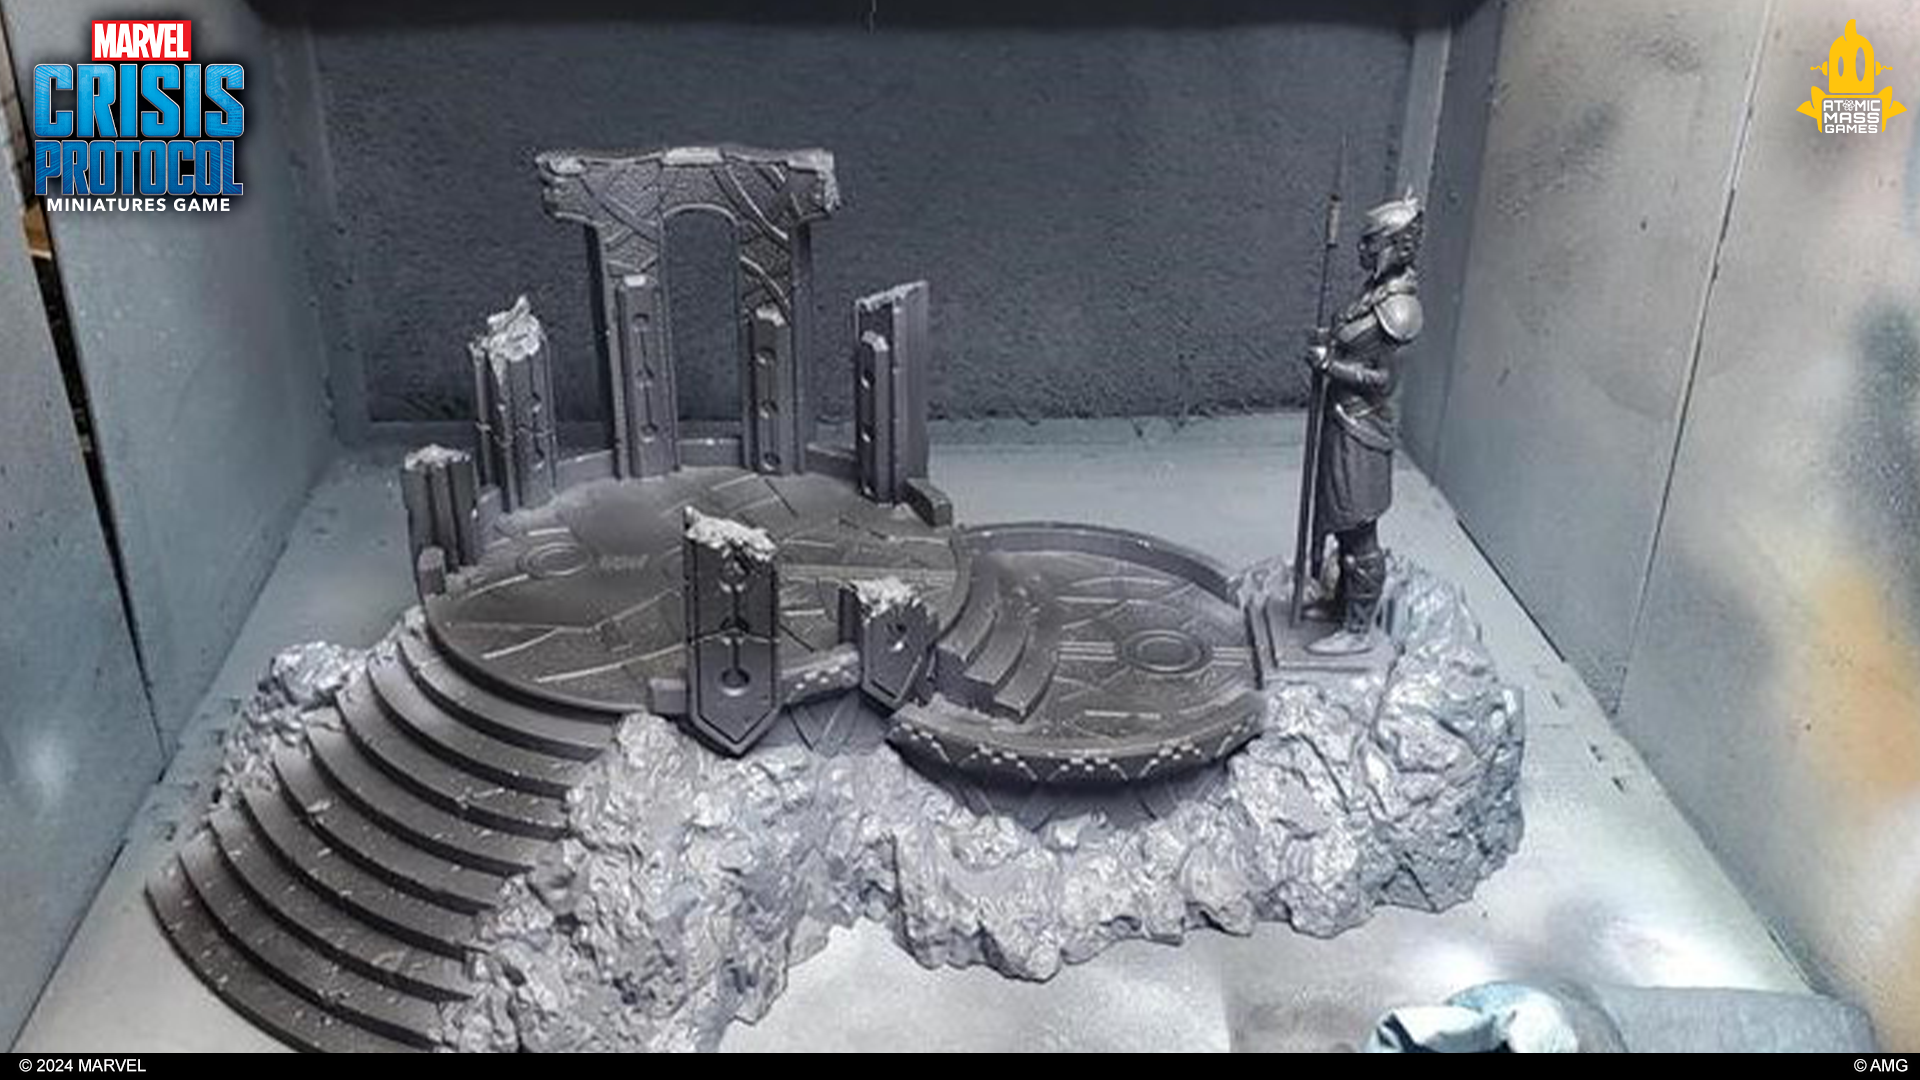
I started out by priming the terrain black. I used an airbrush primer, but spray can primer or brush on primer works just as well. Then, I used a dark gray to give the rocky area a bit of base color to work from.
Next, use a khaki color to add the base layer to the shrine. I was ok with some overspray on the rocks here as that will tie the two elements together once all the other steps are in place.
Added a bit of Bold Titanium White to the khaki to lighten it up slightly. I used the airbrush and angled it from above to create some shadows on the undersides of the columns and statue. I also focused this on the center of the platforms and the center of the stairs.
If you do not have an airbrush, use a large dry-brush and work in small light circles from above to achieve the same effect.
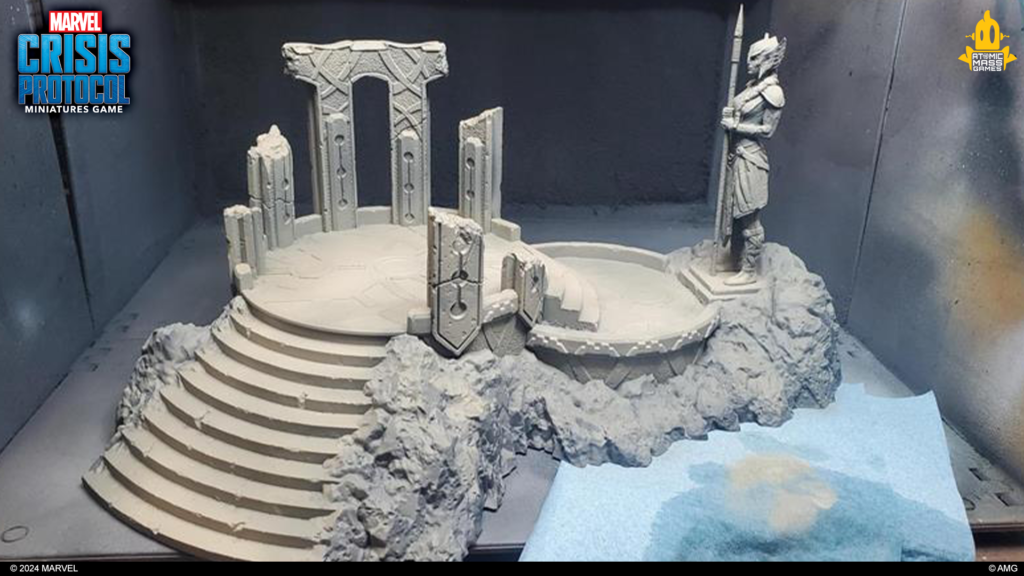
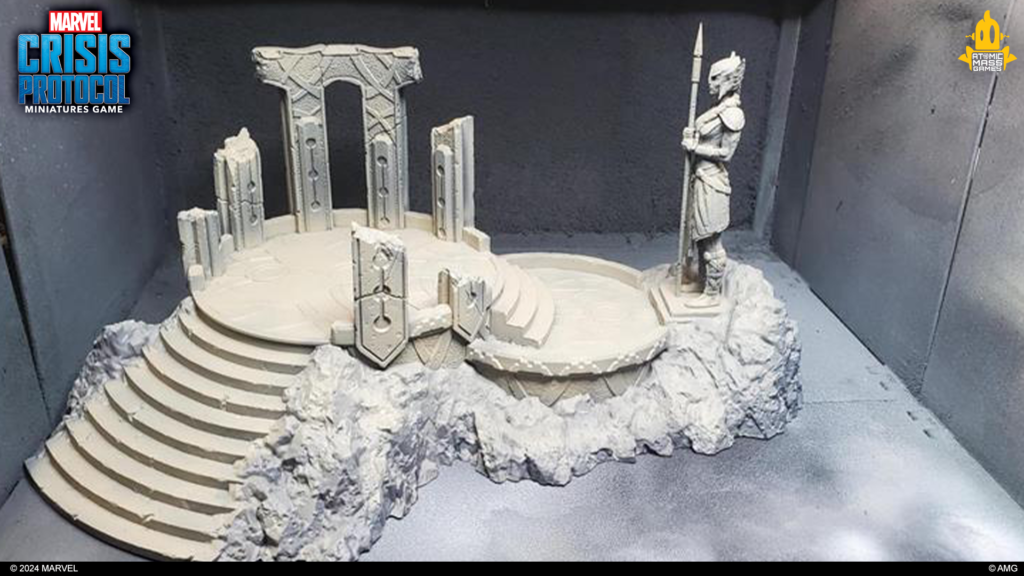
I followed the last step with a light layer of Heavy Warm White from Pro Acryl. This was focused over the same areas as before on the shrine. Finally, the fun part! I used a variety of artists’ inks to lay glazes of color around the shrine. You can pick any colors you want from the rainbow to make your stone. I picked teal, magenta, yellow, orange, and purple. Keep the glazes off of the
rock elements and thin. The ink will look very intense at this stage, that is ok. We have a few steps coming that will take that down a bit and tie it all together.
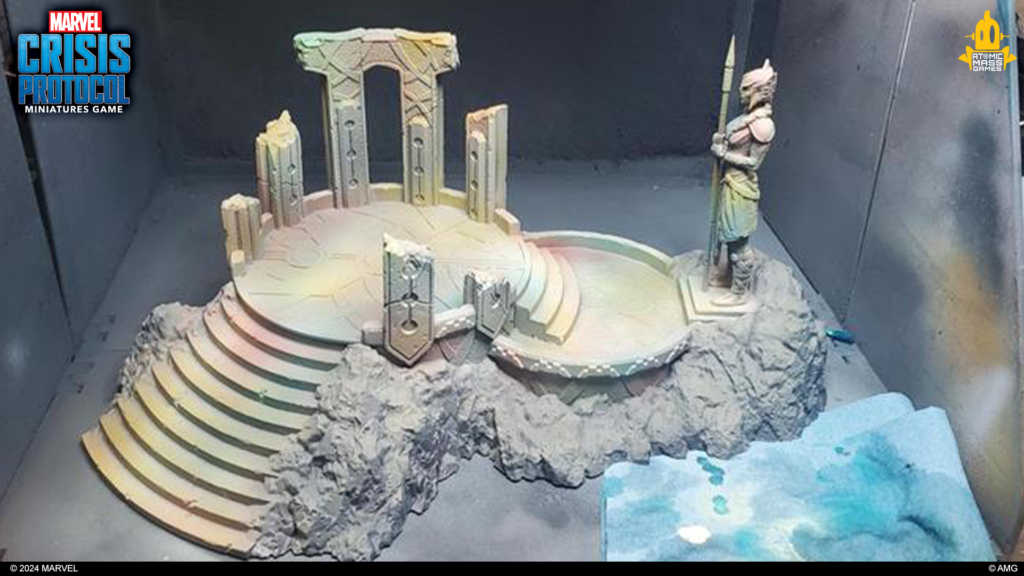
To reestablish the contrast on the designs sculpted on the shrine, I used a blue wash and did a few thin layers over the shrine to get the insets dark again and create contrast in the design. I focused on the areas against the walls, next to the stairs, and the lower parts of the columns to add more shadows there and let the center of the circles be brighter. Additionally, I used a brown wash to stain some areas because I imagined the shrine probably has not been cleaned in some time.
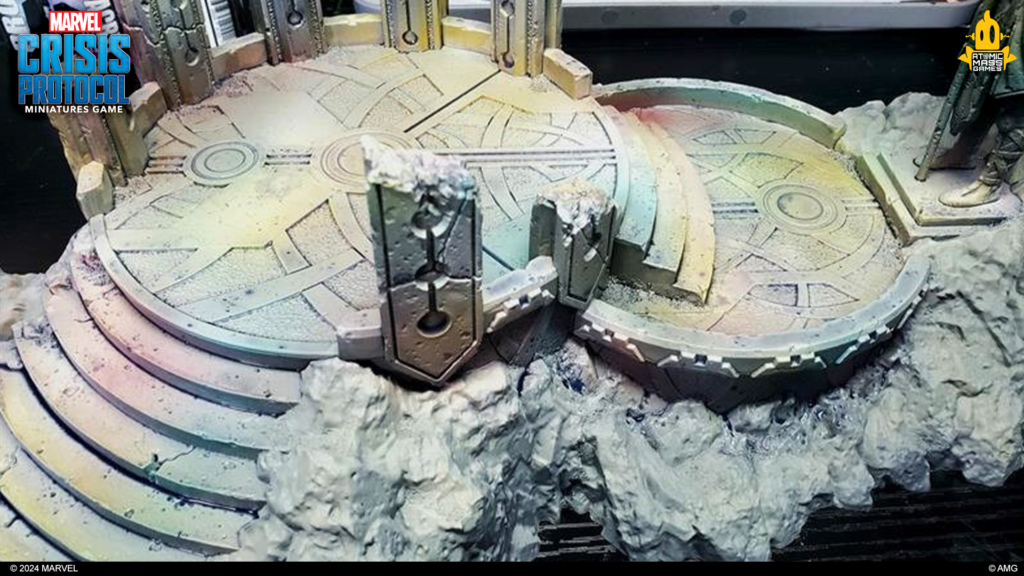
Time to get out that dry-brush again! I used Heavy Warm White and did a very light dry-brush over the shrine to reclaim the edges of the design and allow the shapes to in focus against the colors of the rainbow and the blue shade.
Follow up that last dry-brush by adding a touch of Titanium White to the Heavy Warm White and doing a light dry-brush again. This layer was focused on the upper edges and the center of the circles to create a variance between them and the more heavily shadowed areas.
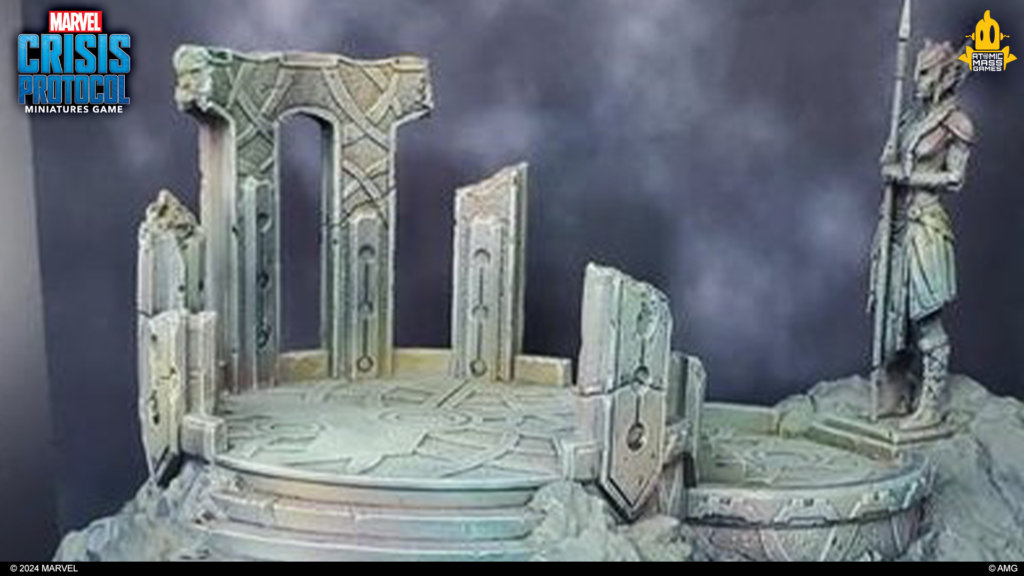
For the final elements, I dry-brushed Bright Grey over the stones followed by a quick dry-brush of Bright Grey with Bold Titanium White added. Use a bit of warm brown to add stains to the rocks.
Next, I painted up the gold elements—as you can do with your favorite gold recipe.
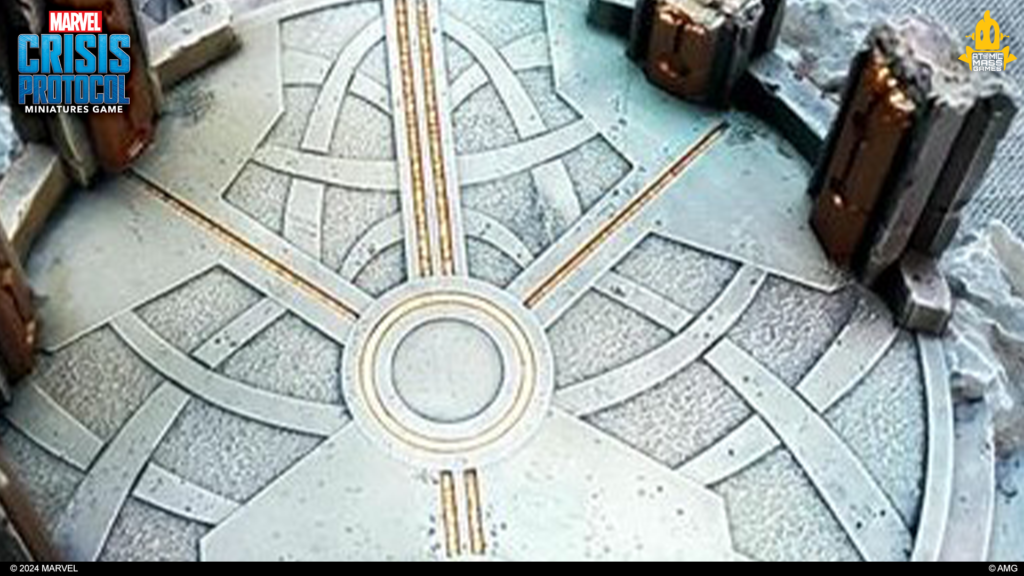
Now that the shrine is painted, time to get the rest of the terrain painted up and get an Asgardian game on it!!!
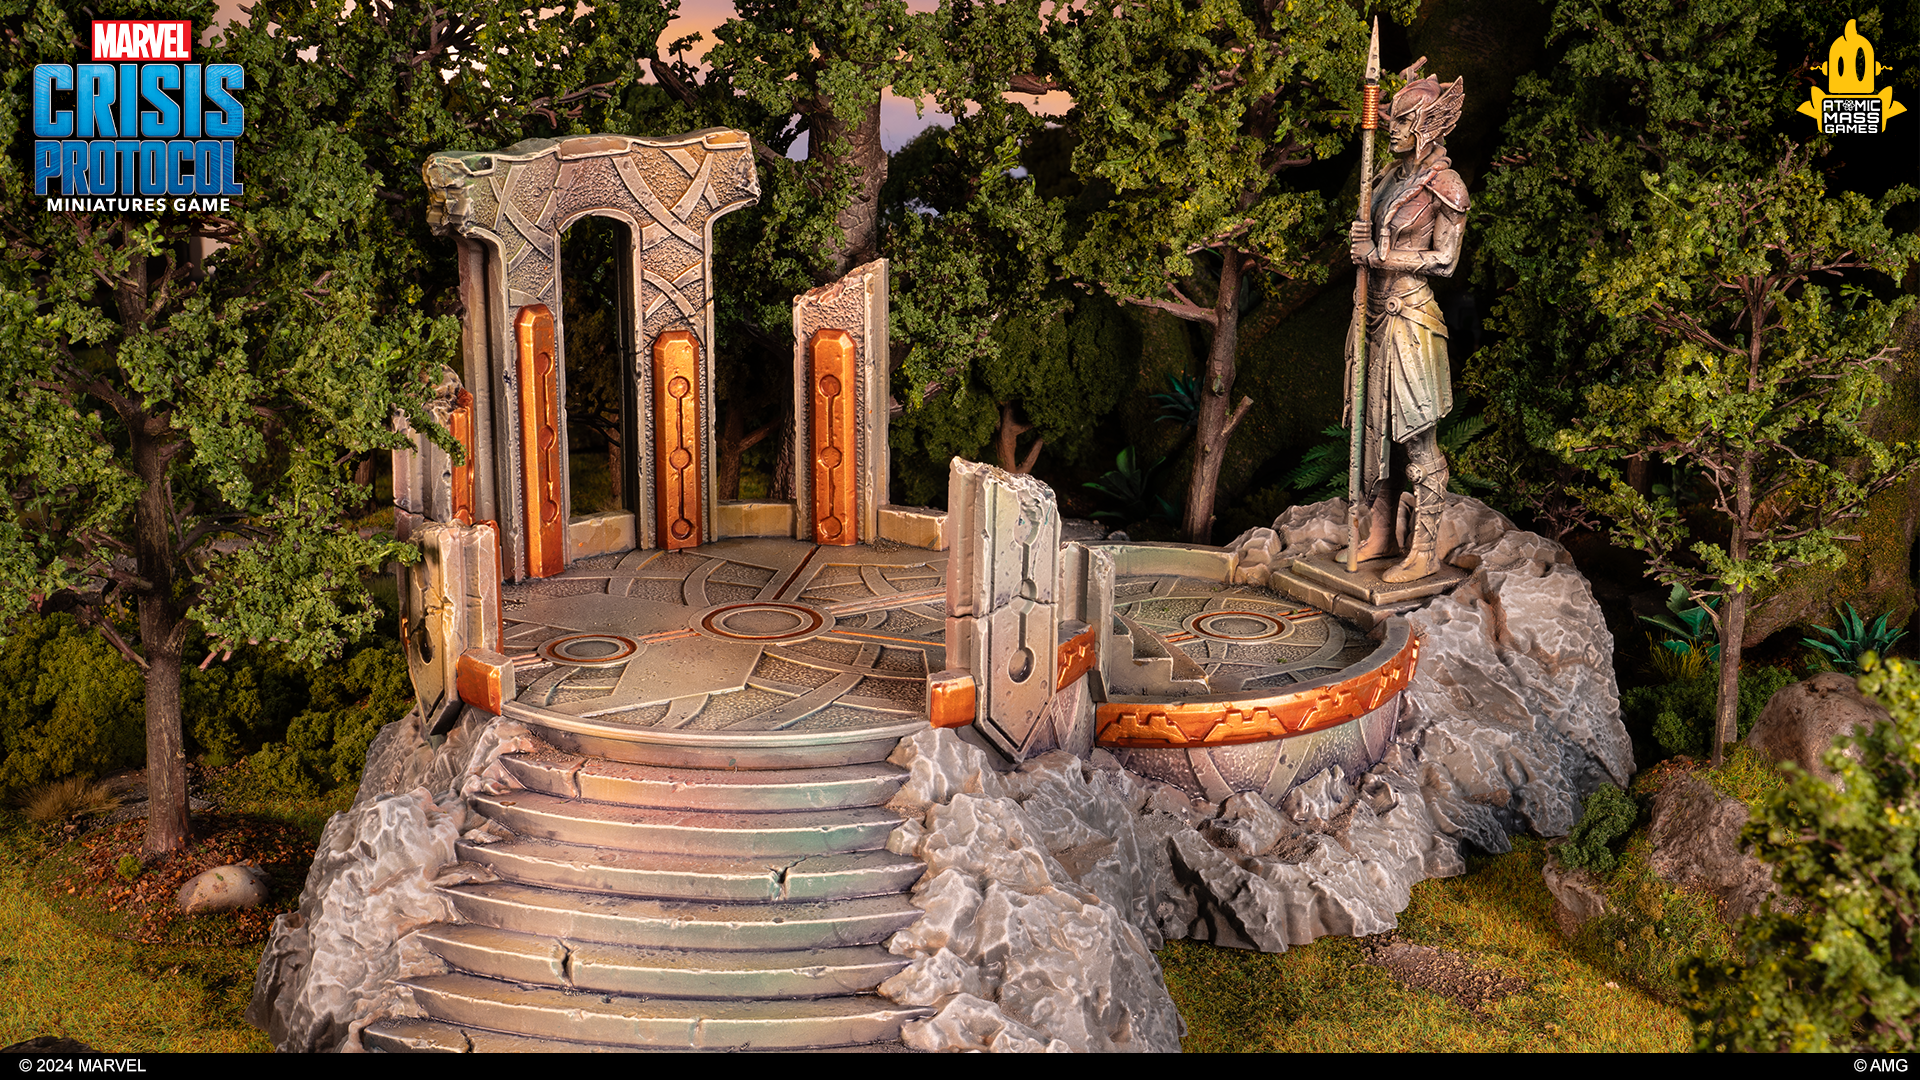
Thanks for joining us for this creative look at painting terrain. When you’re ready to pick up your brush and get painting, Until next time, Atomic Mass Games, signing off!