Staff Hobby Feature—Dallas Paints Apocalypse Terrain
08/29/2024
Join Creative Director Dallas Kemp as he delves into the Apocalypse Terrain with some hobby tips and tricks!
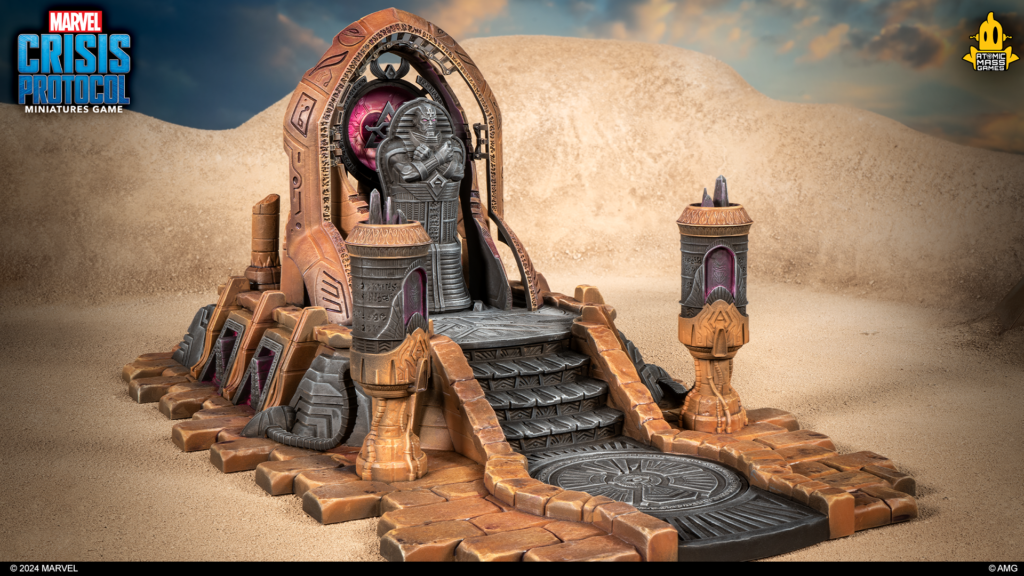
Apocalypse is upon us! With the new terrain coming for Apocalypse I wanted to get a quick and easy version of the terrain painted up to use on the tabletop using easy techniques and quick steps to maximize my time painting.
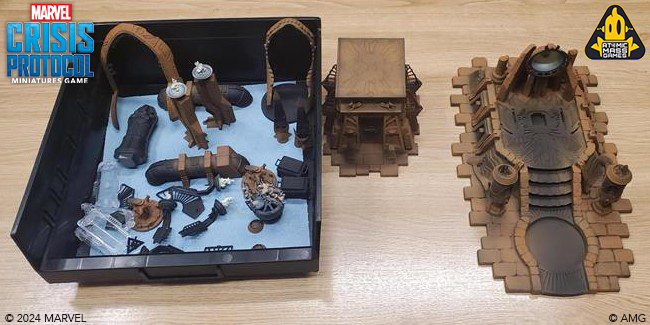
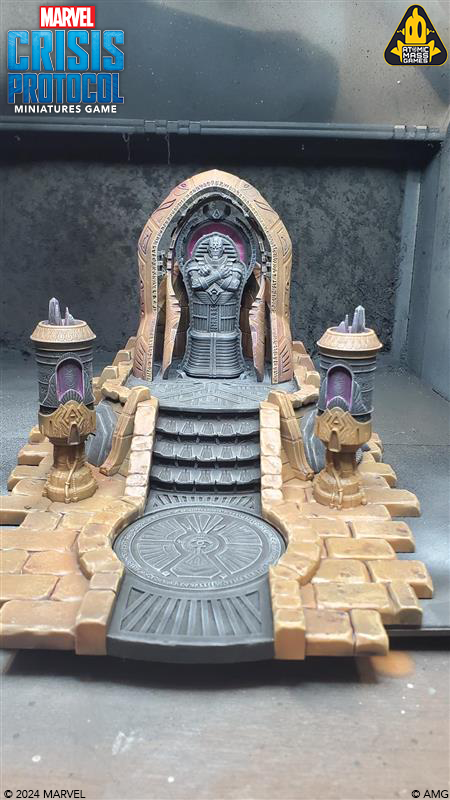
I assembled the terrain sets and primed them black as normal, but I did leave off the sarcophagus, the arches, and the eye to allow me to reach all the elements on the Rejuvenation Chamber set. Additionally, I made sure the mutant subjects were left out of the clear parts of the experiment chambers to allow painting of all the parts there as well.
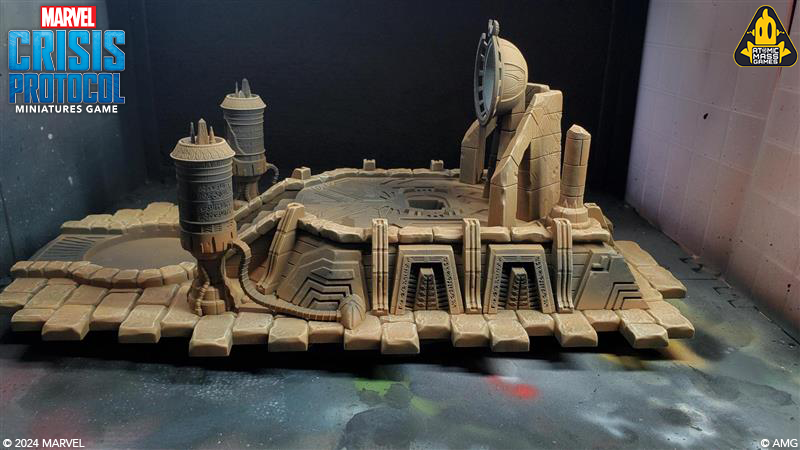
To start the painting process, I airbrushed Monument Burnt Orange and Golden Brown in a 50/50 mix over all the areas I wanted to be stone.
This gives me a nice base coat to work from to create a warm stone color on the structures that will contrast nicely with the black areas I plan to utilize later.
Next step was to give all the stonework a drybrush of Monument Dark Warm Flesh. This will pop the edges of all the rock details and give some much-needed definition to the stones.
I used light circular motion to achieve a softer transition in my drybrush and avoid brush strokes.
I then used Purple and Magenta washes to create some depth and visual interest across the stones. I made sure that the wash lay in each crevasse but also had some thin areas on the flat surfaces to indicate variations in the lighting on the stone. After this step, reapply a light drybrush of the Dark Warm Flesh to emphasize the highlights.

Now for the areas I want to be black. In contrast to the steels, creams, and blues Aaron Lovejoy employed on the studio version, I wanted a simple onyx feel to my set. I laid a foundation layer of Monument Coal Black down on all the elements I wanted black followed by a light drybrush of Dark Warm Grey.

Finalize the black areas with a drybrush of Neutral Grey followed by a light edge drybrush of White Blue. The White Blue final touches should be minimal and just clip the edges of the details to give definition to each element.
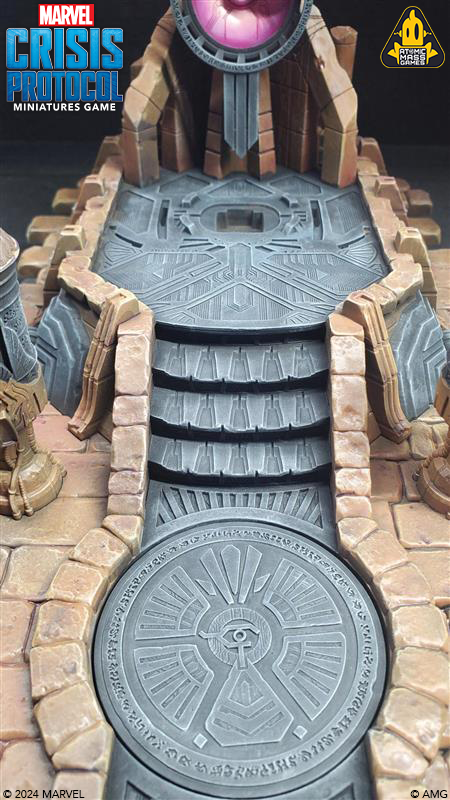
For my final touches, the part that brings it all together, I glazed some Magenta into the vents and other areas of interest on the different terrain pieces. This just adds a bit of glow and sets the scene a bit better. I glued all the parts back together and cleaned up any mistakes I made.
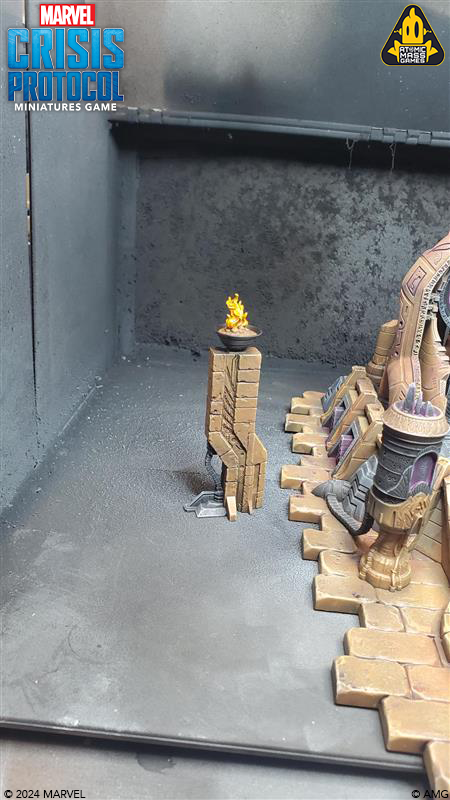
I used a glaze of Transparent Yellow followed by Transparent Red on the flames for a quick but effective flame effect.
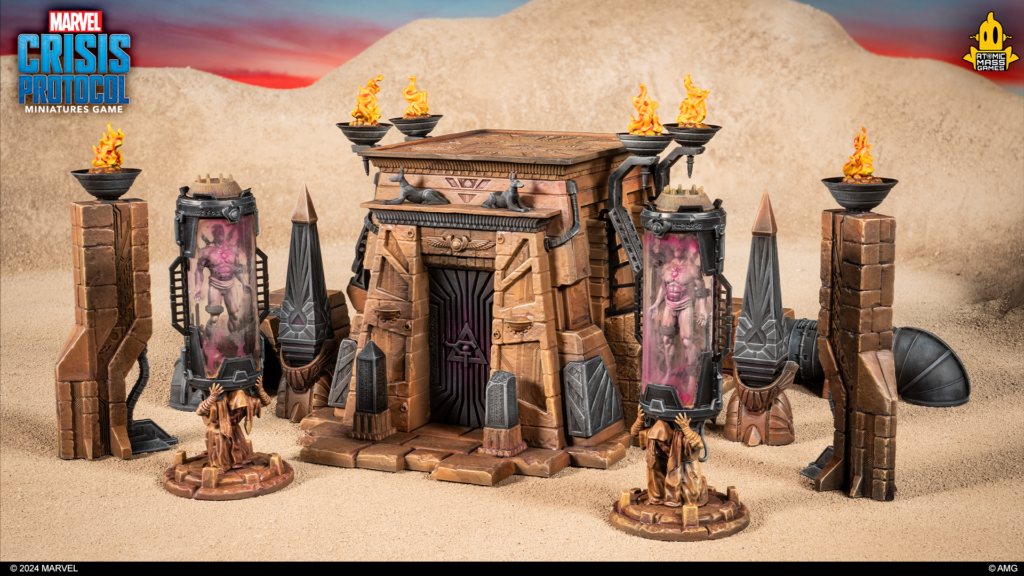
The mutant subjects were painted, then the insides of the clear tubes were glazed with a variety of colors to give a sense of malicious intent to the parts. Then all were glued together and final touches applied to the parts.

And that was the basics of getting the Apocalypse terrain painted in just a few hours. Hopefully that will help you get your Apocalyptic terrain set up in no time for an Apocalyptic good game of MCP!
Thanks for joining us on today’s deep dive into Apocalypse Terrain. Be sure to check back later for additional features of terrain and to see how your favorite characters transition to the tabletop in Marvel: Crisis Protocol.
Until next time, Atomic Mass Games, signing off!